


The correct jumper cable order is red to the dead battery’s positive (+) terminal, red to the donor battery’s positive (+) terminal, black to the donor battery’s negative (−) terminal, and the final black clamp to an approved metal ground point on the disabled vehicle, away from its battery. Remove the cables in reverse order. Following this sequence helps keep the final connection, which may produce a spark, away from the battery.
Before connecting anything, confirm that both vehicles use compatible 12-volt systems, check for visible battery damage, and consult the owner’s manuals for designated jump-start terminals and grounding points. This quick-reference guide explains each connection, why the final black clamp belongs away from the battery, how to disconnect the cables safely, and which mistakes to avoid.
Quick Check Before the First Clamp
Cable order cannot make an unsafe situation safe. Both vehicles should be off, parked so they do not touch, and both batteries should be 12-volt, which AAA says you can confirm on the battery label. Do not connect cables to a battery that is cracked, bulging, leaking, or smells strongly of rotten eggs, and do not work in a live traffic lane.
If you are not sure whether to try at all, Dead Car Battery: What to Do First covers that decision, and the full guide lists every stop condition.
The Four Connections in Order
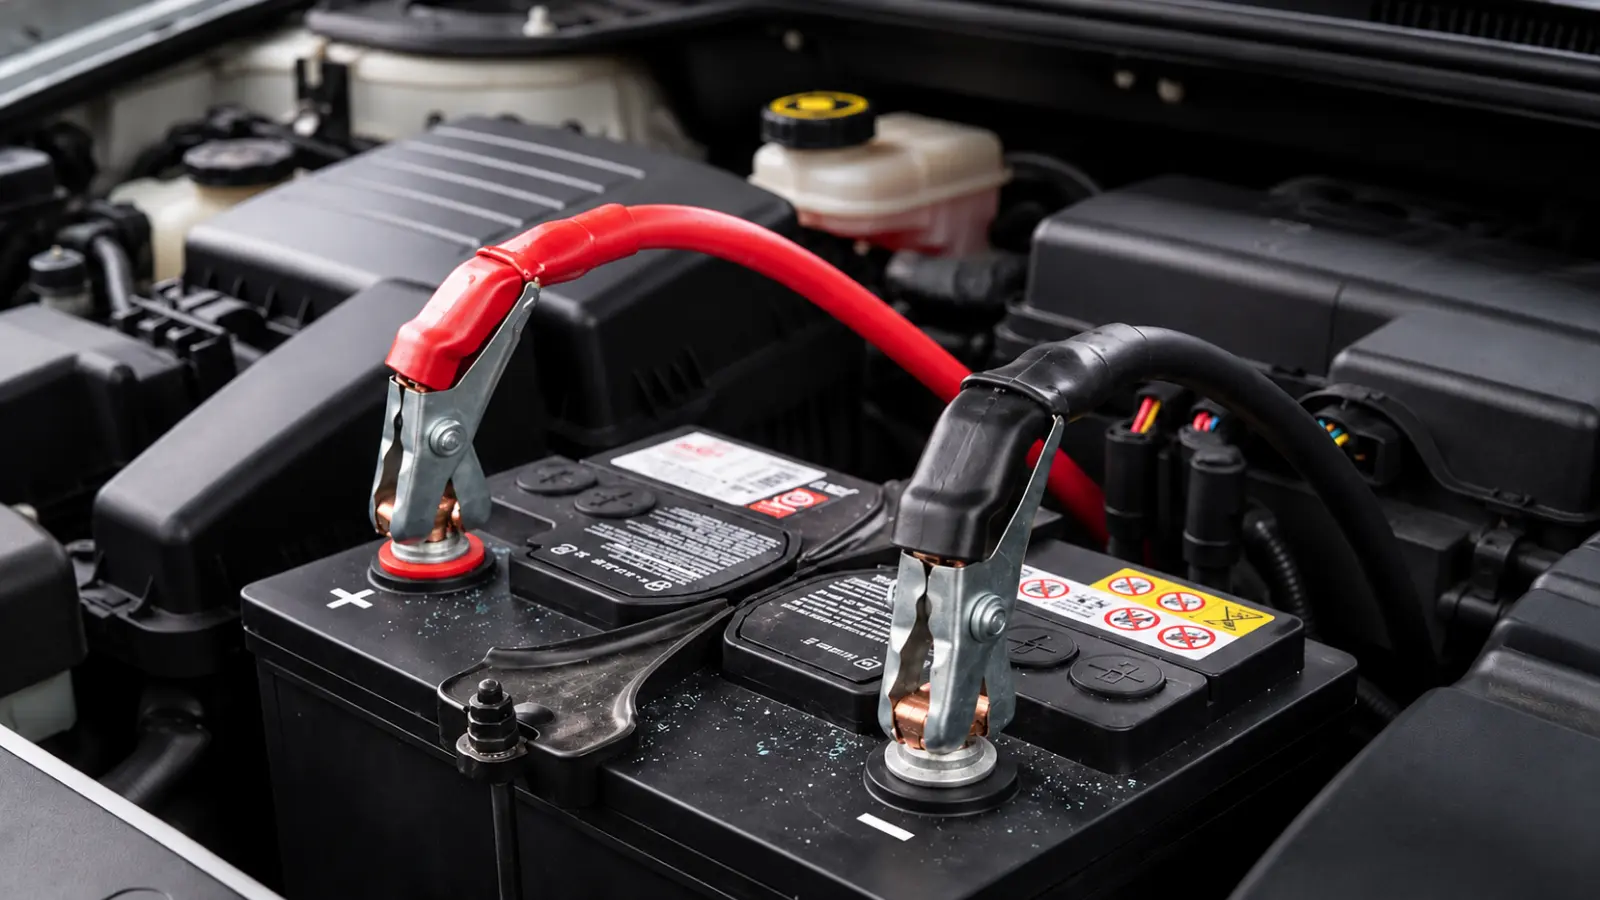
Red is positive and black is negative. Rely on the “+” and “−” markings and on your manual rather than on color alone, and keep the free clamps apart and off metal until each one is being attached.
- Red to the dead battery’s positive (+). Use the positive terminal or the remote positive jump point your manual identifies. Keep the unattached red clamp away from metal, other clamps, and unintended contact points.
- Other red to the donor battery’s positive (+). The two positive terminals are now connected. Keep the remaining clamps separated and away from unintended metal contact until you attach each one to its designated connection point.
- Black to the donor battery’s negative (−). Check that the clamp is seated and that the cable is clear of belts and fans.
- Last black to bare metal on the dead car, away from the battery. Use the ground point the manual specifies, or a clean, unpainted piece of metal such as a thick bolt on the engine block, as AAA describes. Keep it clear of fuel lines and moving parts.
Some guides start the red cable at the donor battery instead. AAA starts at the dead battery, and so do many step-by-step guides. The parts every version shares are the ones that matter: both reds before the blacks, and the last clamp on the dead car’s ground, never on its negative post. If your manual gives a different order, follow it.
Why the Last Clamp Goes on Metal, Not the Battery
The final connection can throw a small spark, and a battery can vent hydrogen gas. AAA’s guidance puts that last clamp on a bare-metal ground point so the spark happens away from the battery and any fumes.
That same logic explains the rest of the order. The positive path is built first, the donor’s negative second, and the one connection most likely to spark is saved for last and placed as far from the battery as the cables allow. The ground only works if the clamp bites into clean, bare metal, so avoid painted brackets, fuel lines, and anything that moves.
How to Remove the Cables
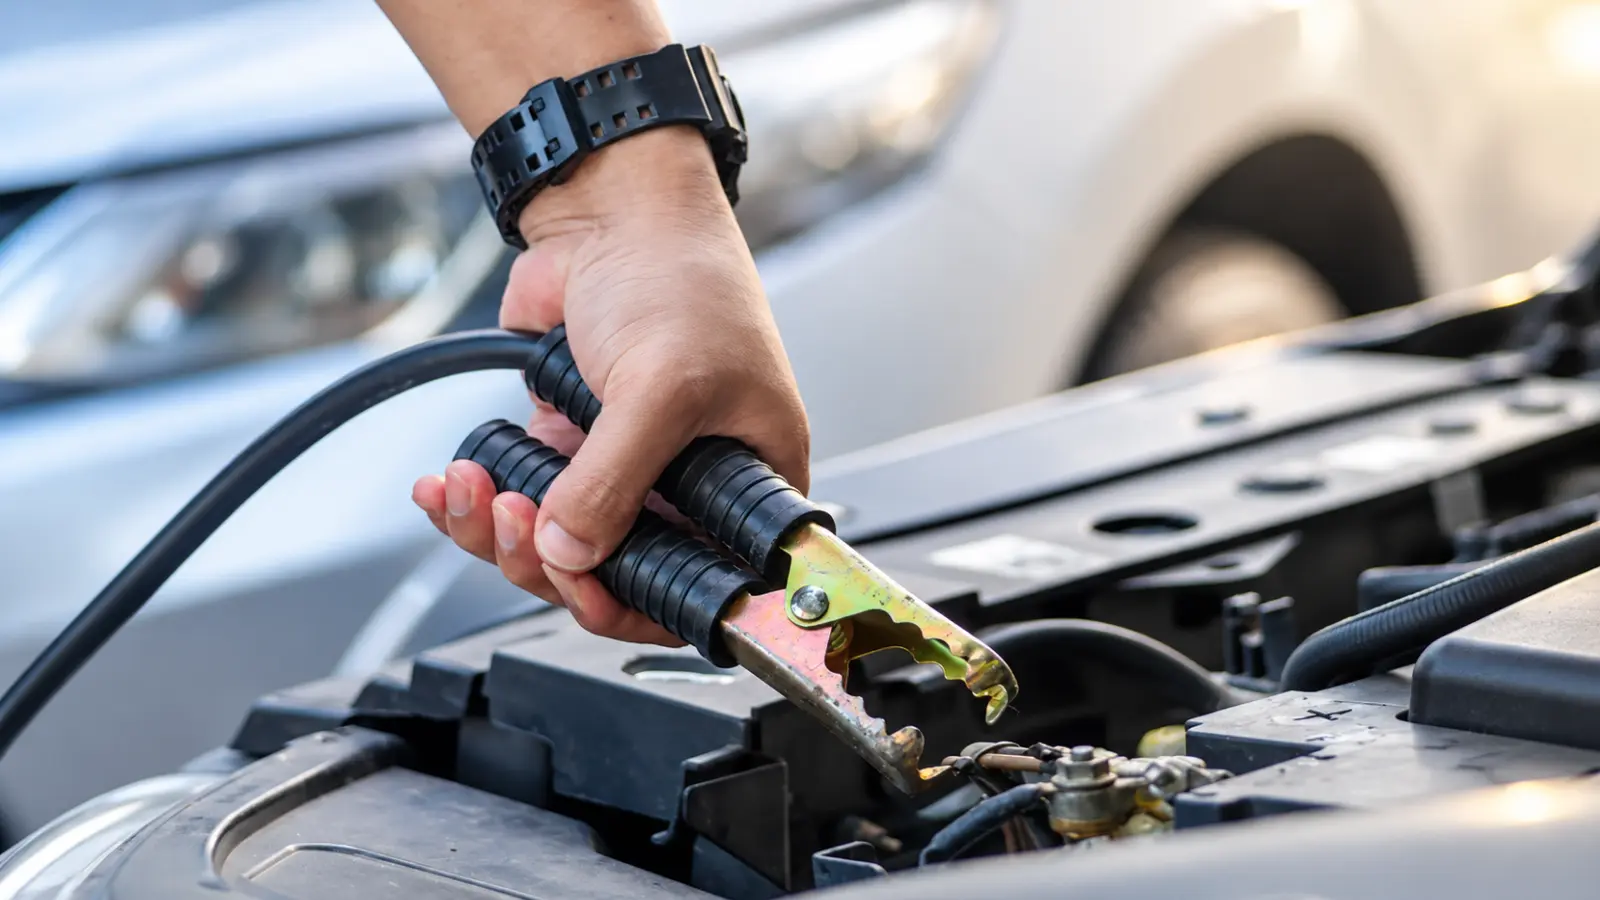
Once the dead car is running, take the cables off in exact reverse. The last clamp connected is the first one removed. Do not let a removed clamp touch another clamp or any vehicle metal.
- Black clamp from the dead car’s ground point.
- Black clamp from the donor battery’s negative (−).
- Red clamp from the donor battery’s positive (+).
- Red clamp from the revived car’s positive (+).
What to do between the start and the removal, and after it, is in the full jump-start guide.
What Goes Wrong When the Order Changes
Each rule in the sequence prevents a specific problem. These are the order-related mistakes worth knowing.
- Last black clamp on the dead battery’s negative post: it can work electrically, which is why people do it, but it places the final spark beside battery gas.
- Positive to negative (reversed polarity): this can damage electronics or blow fuses. If a marking is unclear, stop and check before touching a clamp to anything.
- Letting a connected clamp touch another clamp or metal: once one end is attached, the free clamp on that cable can carry current.
- Clamping onto paint or corrosion: AAA lists a poor connection as the most common reason a jump fails. The clamp’s teeth need to bite clean, bare metal.
- Cables resting on belts or fans: keep them clear before anyone tries to start an engine.
If the order was correct and the car still will not start, stop repeating attempts and move to Car Won’t Jump Start: What to Check Next. If it starts, test the battery before buying a new one.
Follow the Correct Jumper Cable Order Every Time
The safest approach is to connect the positive terminals first, attach the negative clamp to the donor battery, and make the final connection at the disabled vehicle’s approved ground point, away from the battery. When disconnecting, remove the clamps in the opposite order. Always keep the cables clear of moving parts, prevent the clamps from touching each other, and follow the connection points and procedures specified in your owner’s manual.
Remember that correct cable placement is only one part of a safe jump-start. Battery condition, vehicle compatibility, and proper preparation matter just as much. If you need the complete procedure, including safety checks and what to do after the engine starts, consult the full How to Jump-Start a Car guide before attempting the process.
Frequently Asked Questions
Which jumper cable goes on first, red or black?
The red jumper cable goes on first, connecting to the dead battery’s positive (+) terminal or designated positive jump point. Connect the other red clamp to the donor battery’s positive terminal before attaching either black clamp. Follow your vehicle’s manual if it specifies a different sequence.
What is the correct order to connect jumper cables?
Connect the clamps in this order: red to the dead battery’s positive (+), red to the donor battery’s positive (+), black to the donor battery’s negative (−), and black to the designated ground point on the disabled vehicle, away from its battery.
Why do you connect the positive jumper cable first?
Connecting the positive terminals before completing the negative connection helps reduce the risk of accidental short circuits. The final negative connection is made at a designated ground point away from the dead battery, where a spark is less likely to ignite battery gases.
Where should the last black jumper cable clamp go?
Attach the final black clamp to the disabled vehicle’s designated ground point, typically clean, unpainted metal away from the battery. Avoid fuel lines, moving engine components, and the dead battery’s negative terminal unless the vehicle manufacturer specifically instructs otherwise.
What is the correct order to remove jumper cables?
Remove the clamps in reverse order: black from the disabled vehicle’s ground point, black from the donor battery’s negative (−), red from the donor battery’s positive (+), and finally red from the revived vehicle’s positive (+). Keep disconnected clamps from touching each other or vehicle metal.
What happens if you connect jumper cables in the wrong order?
Reversing positive and negative connections can damage electrical components, blow fuses, or overheat the cables. Incorrect clamp placement can also create sparks near the battery. If you notice smoke, overheating, or melting insulation, stop immediately and seek professional assistance.


